
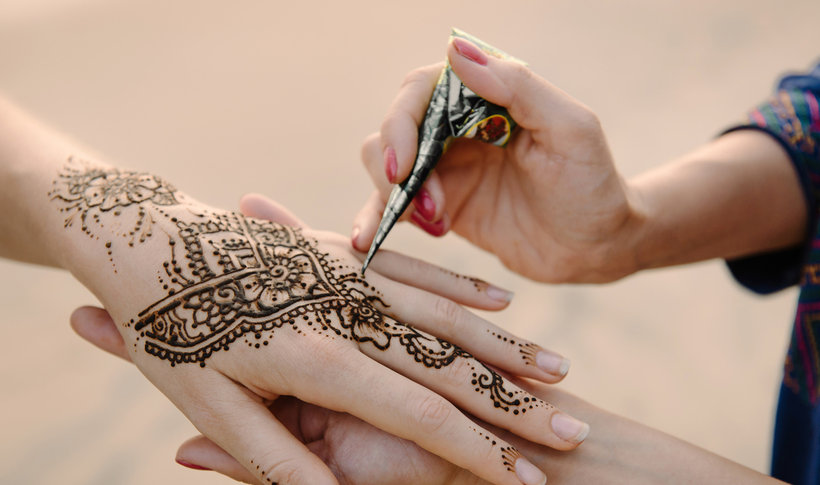
Are you dreaming about having a tattoo but you’re afraid that you will become fed up with it soon enough? Do you like oriental patterns? Well, it may appear that henna tattoo is the perfect solution for you!
Hindu ritual of hand and foot decorating with a complicated pattern made of henna has its well-known name mehendi, or sometimes mehndi. In most cases, such tattoos used to be done on the occasion of marriage because red henna applied to bride’s hands was supposed to bring luck in the matrimony.
I have to confess. Back then I wanted to have a real tattoo. However, with time I was more and more doubtful about this idea and now I’m happy that I didn’t take this step and my skin is free from any permanent ink injected. I think, I wouldn’t look good as an old, wrinkled and tattooed lady. For that reason, henna tattoo seems to be a much better solution because:
- the effect lasts a few weeks only;
- from time to time I can change patterns and the place I want to wear my tattoo on;
- I can do it myself, at home;
- it’s a completely natural and non-invasive method.
HENNA – A WAY OF GETTING TEMPORARY TATTOO
1. How to do henna tattoo?
In this entry I’d like to show you my way of doing henna tattoo step by step. I hope my method would turn out to be fairly easy for everyone. Honestly, I don’t consider it as troublesome. At the beginning, let’s prepare everything what is needed for the procedure. Here is the essential items list:
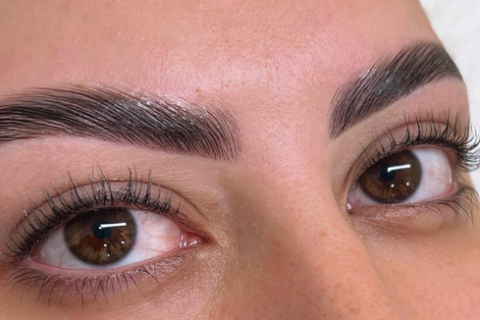
- natural cosmetic henna (it’d be best if you manage to find a special tattoo henna because the regular one that you use to dye your eyelashes and eyebrows with isn’t that strong);
- applicator (you don’t have to search for a professional applicator because you can go for a clean eye-drop bottle; basically, a cone for cake writing and decorating should be also fine);
- henna tattoo print-out, which is a template (of course, you don’t have to reach for the readymade template, you can go with the flow);
- rubber gloves (to protect hands from discolouration).
When you finally collect all essential accessories to do henna tattoo at home, you can swing into action. Henna designed for tattooing is available in two versions: a readymade mixture as well as a powdered colourant. When having the readymade mixture, we can start doing tattoo straight away.
When it comes to the powdered henna, you have to make a mixture out of it. How to prepare henna paste to do a tattoo? Mix a high quality henna with still water of room temperature and a dash of essential oils. The best are eucalyptus oil or lavender oil, but the colour of henna can be intensified thanks to clove oil or tea tree oil. Basically, every 100 g of henna should be combined with 250 ml of water and 30 ml of oil (in total), and also 4 tablespoons of sugar. Some people recommend adding lemon juice, tea and coffee, yet I find them completely redundant. Naturally, you have to mix all the ingredients to obtain an even paste with no lumps. Basically, it should be slightly goo-ish. Caution! Once mixed up, henna isn’t ready to be applied straight away! The bowl with the colourant has to be covered with food foil and left for 20 hours. When it changes the colour into brownish, it can be used to decorate your body with.
Since you have both the tattoo paste and all the essential accessories, you can proceed with the tattooing. It’s time to make your skin ready for the procedure. First of all, you have to apply body scrub and then cleanse the skin. It’s worth realizing that henna tattoo will stick only to clean, dry and degreased skin. Also, remember to protect all your clothing and the surrounding because if spilt, henna is fast to stain everything it is in contact with. The procedure of doing henna tattoo is very simple. Here are the basic steps:
- either impress or trace a pattern on your skin (optional);
- put henna on your skin using an applicator of tiny tip;
- it’s the precise application of henna that matters, use the paste in moderation;
- applied henna pattern has to be left for a few hours (at least 6 hours);
- after this time you have to remove the dried-out paste very delicately, don’t rub it;
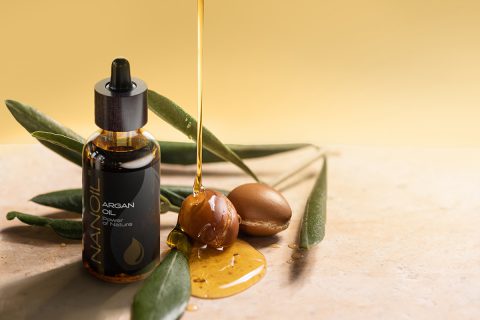
- apply a natural oil to your tattooed skin.
2. How to fix henna tattoo?
One of the most frequently asked question concerning henna tattoo is how to make the tattoo remain on skin longer. It’s clear that the effect obtained with the plant colourant is temporary, no doubts about this. However, its lifespan depends on how we treat the skin area we applied the image to. Luckily, there are many methods of making the effects last longer. I’m going to enumerate the techniques I applied, the ones that really work.
- While doing henna tattoo, make sure to let the colourant remain on your skin long enough. It’d be best if you left it for a few hours thanks to which the entire tattoo will be considerably darker, enhanced and more durable.
- Choose the body parts that aren’t exposed to frequent contact with sweat, water and detergents, like hands, for example. Decorating body parts that are a little bit more covered with clothing is a way of extending the lifespan of the pattern.
- During the procedure, remember to stay at home (don’t go out) and don’t cover the body part with clothing. It’s better to protect the henna paste until you wash it down.
- Once you cleanse your skin from henna residues, moisturise the very body part with an oil or a balm thoroughly.
- Don’t expose the henna tattoo to strong sun, avoid swimming/bathing in chlorinated or salty water because these substances contribute to the colour fading away.
- In order to cleanse the body part featuring your new henna tattoo use antibacterial soap only. Resign from using any dense gels, cleansing lotions and body scrubs which might wash henna away. Also, it’s advised not to rub the skin but treat it a very gentle manner.

Leave a Reply